The Legend of Zelda: Ocarina of Time Boss Guide
Queen Gohma

Parasitic Armored Arachnid
As soon as you get to the boss room, the door will close behind you, and you’ll hear some weird sounds. Look up and you’ll see Queen Gohma. She will fall down from the ceiling and get ready to attack you. Notice that every time she’s about to hit you, her eye will turn red. This is your chance! Equip the Fairy Slingshot, if you haven’t already, Z-Target and hit her with a Deku Seed. Then, strike her with your sword. She will go up to the ceiling again.
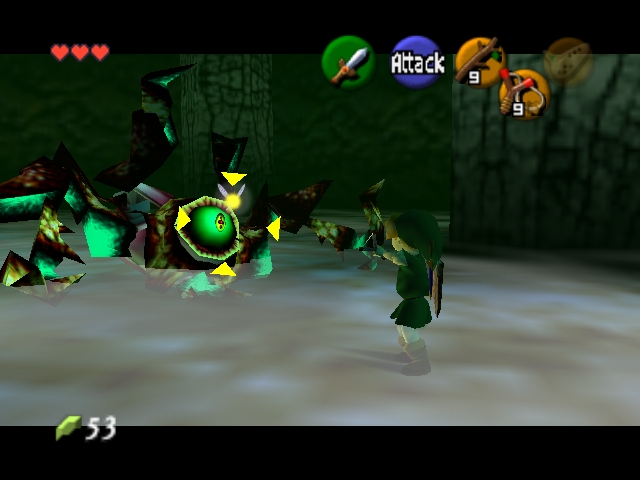
Shoot the eye!
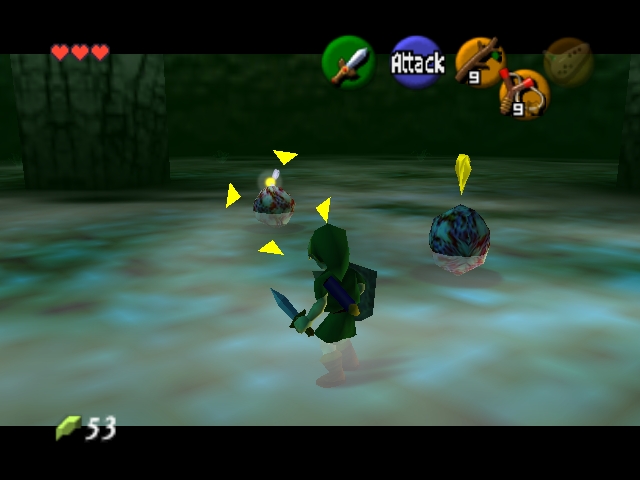
Slice the eggs!
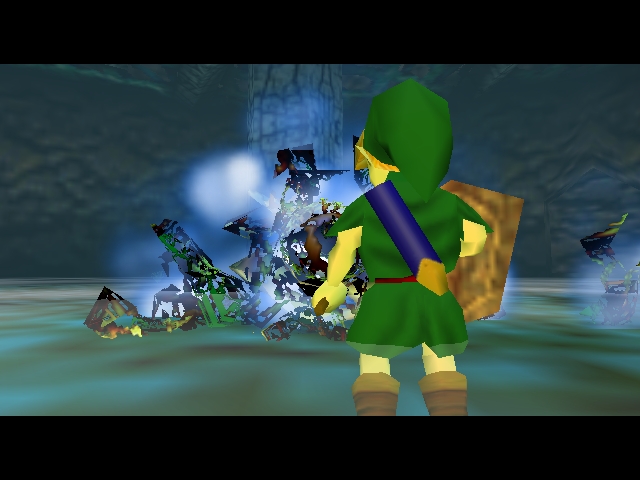
Now, if you want to end this battle quickly, you should just Z-Target her again, hit her with the Fairy Slingshot (when her eye is red) and you’ll be done with her. If you don’t do it, she will drop you some Gohma Eggs. Hit them quickly, or they will hatch and a Gohma Larva will be born! But even if this happens, they are easy to kill. When she falls down again, just do what you did the first time and you’ll finally get rid of her. All you have to do now is to watch the little cutscene where she burns into blue flames, grab the Heart Container and warp outside the boss room.
What now gohma!
King Dodongo
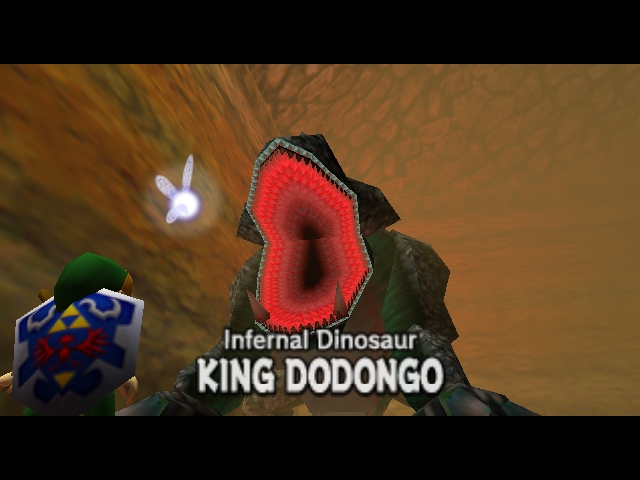
Infernal Dinosaur
King Dodongo is one of the most easy bosses if the game, even if he looks kind of…big. Before you get to the boss room, you’ll find another room where you can take some bombs in a small chest and bomb the entrance to the boss (which is in the center of the room). After you fall down, you’ll finally encounter King Dodongo. As I said before, he looks strong and hard to beat, but he’s actually pretty easy.
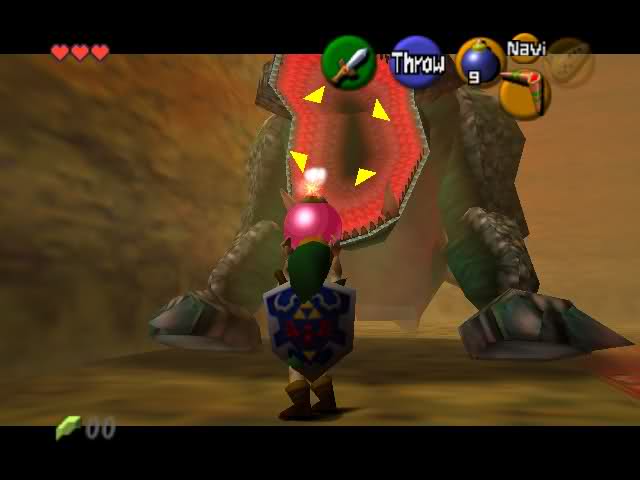
I can't wait to bomb some dodongos!

Use your sheild!
All you have to do is equip your bombs and throw them to the Dodongo when his mouth is open otherwise he’ll breathe fire to you. He will explode and you’ll be able to hit him with your sword, but only once. After you hit him, he’ll get up and start rolling around the room. Be careful not to take any damage by protecting yourself with your shield. While he rolls, follow him around the room and when he stops, do what you did the first time (that means…throw him bombs). Again. And again. And once more. You might need to do it once more now.

Slice 'im up!

Couldn't he just explode or something?
After you do it four or five times he’ll roll into the lava (couldn’t he just explode or something?) and burn. Make sure you’ll take the Heart Container and warp to Death Mountain Trail.
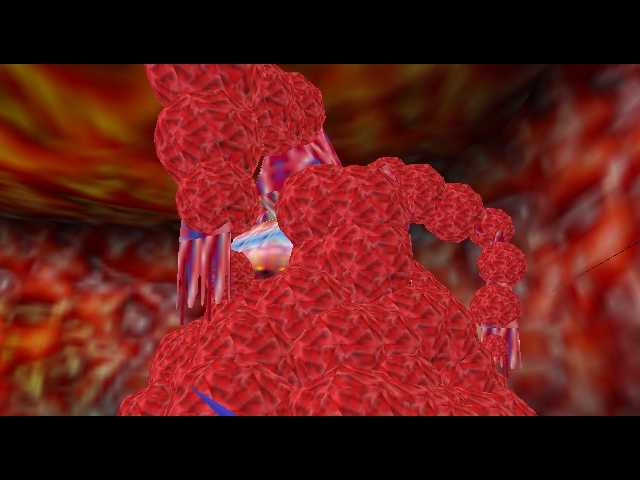
Barinade
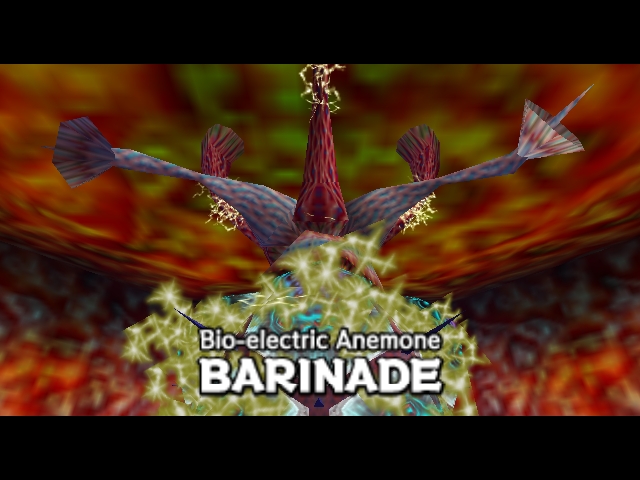
Bio-electric Anemone
Finally, a somewhat difficult boss!
Finally, a somewhat difficult boss! Of course, as in the most bosses in the game, you’ll have to use the dungeon’s item, which is the Boomerang. The battle will start and Barinade will suck energy out of Jabu-Jabu with its tentacles.

Z targeting is your best friend.
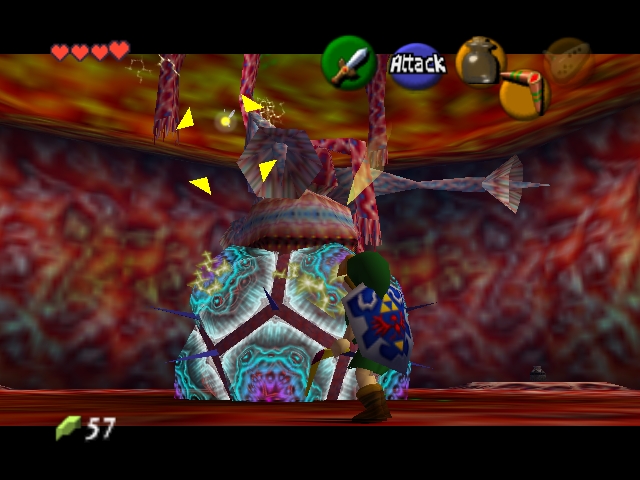
It will release the jellyfish it has on it's body!
Equip your boomerang and hit them as you walk around, so you won’t get hit by their electric beams. When you finish, it will release the jellyfish it has on its body. Be careful not to touch them! Once you’re close enough, hit the main body with your boomerang. This will free the jellyfish, but they will connect again to the main body soon, so quickly destroy them all. You may have to repeat a few times.
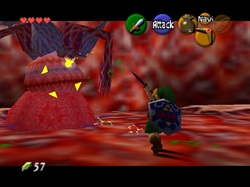
Victory is so sweet.
Once you kill them all, Barinade will start moving around and shooting faster. All you have to do is to stun it with the boomerang. When you get it, hit it with your sword. Then repeat again. Hopefully, if you’ve done it right, Barinade will be killed by now. Go get the Heart Container and warp to Zora’s Fountain…where Ruto is waiting for you.
